Your internet service provider can see every single app and site you use - even if the website is using encrypted HTTPS protocol.
DNS is to blame. It is used by (almost) every single app in your system, but even in 2021, it is still unencrypted.
The obvious solution would be to use a different DNS then, but it still travels through your ISP's network unencrypted and thus, they still can see it.
Until DNS is encrypted, the only real protection is to use VPN.
And rather than setting up VPN on every single device in my household, I've decided to build my own WiFi hotspot that will be permanently connected to VPN.
You will need RaspberryPi, Lan cable (RJ45), and a NordVPN account (or any other VPN).
Setting it up
Step 1 - Install Raspbian
Install clean Raspberry Pi OS (32-bit) Lite on your RaspberryPi.
Use a headless setup in case you don’t have an extra monitor and keyboard around. It will allow you to connect to your RaspberryPi remotely.
Step 2 - Install RaspAP
RaspAP is simple and powerful software that will turn your RaspberryPi into a WiFi access point. It puts together all the Linux services around networking into a nice UI.
Follow this quick setup guide on RaspAP website. Make sure you install also AdBlock and OpenVPN components.
After that, plug your RaspberryPi with Lan cable into the router provided by your ISP.
Step 3 - Setup WiFi network
In RaspAP Web UI (http://10.3.141.1), go to Hotspot settings and change your SSID and Password.
I also recommend to setup your WiFi to use 802.11ac - 5GHz wireless mode. It is generally much more stable and faster than the other options.
Step 4 - Setup DNS
For the DNS server, we will use 1.1.1.1, which is CloudFlare’s fast and private DNS server.
Go to DHCP Server > Advanced and add 1.1.1.1 as an upstream DNS server. Also, make sure that the option Only ever query DNS servers configured below is enabled, otherwise, your RaspAP network would still query your ISP DNS which we don’t want.
After this, test your setup on DNS leak test. This website will check if you've configured your DNS correctly. If you see any other DNS than Cloudflare’s, then it is wrong.
Step 5 - Enable AdBlocking
AdBlocking should be on by default. On the Ad Blocking settings page, you can see if that's true.
Step 6 - Setup VPN connection (optional)
The last step is setting up a permanent VPN connection between your RaspberryPi and NordVPN.
You will need an .ovpn configuration file. Go to NordVPN servers website and pick a server of your choice.
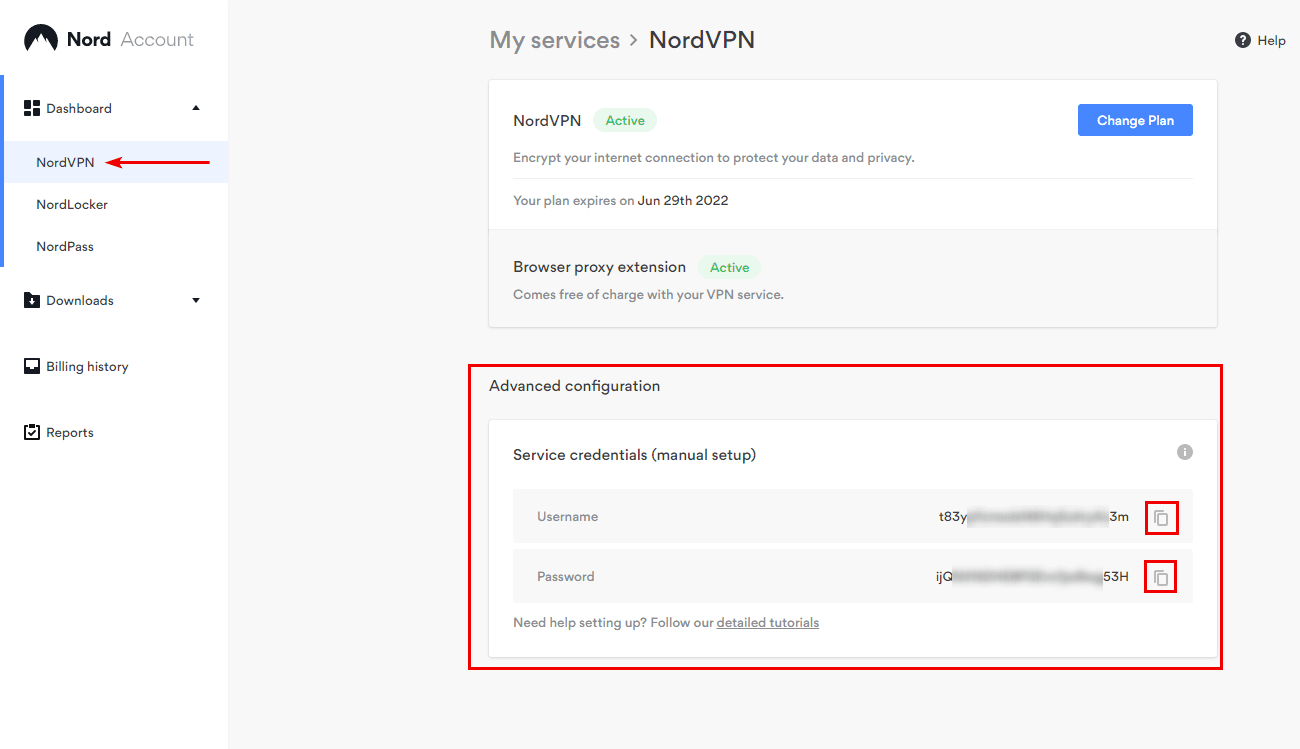
After you get your config, go to the OpenVPN setting and upload it there. You will also need Service credentials. Those, you can get from your NordVPN account page.
After this step, you can hit Save and start your OpenVPN service.
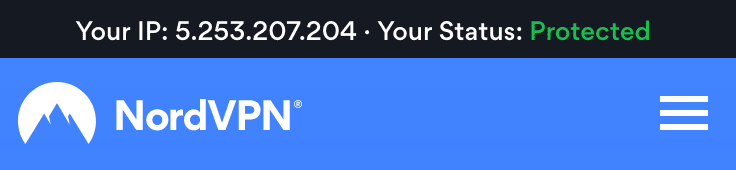
If you did everything right, you can check NordVPN.com website and see in the top bar if you're connected through them.
Conclusion
Congratulations. If you've made it this far, it means you care about your privacy. It is a good feeling to know that at your home no one is eavesdropping on you and your family.
I hope this mini-tutorial was helpful to you. Feel free to write me on my Twitter if you have any questions or comments.
PS: If you find RaspAP useful, consider supporting this project with some $$$ on their GitHub sponsors page.